Phoenix Live View, The Beginner Guide
Table of Contents
This guide assumes you have Elixir and Phoenix installed. So go do that if you haven't.
If you don't know what LiveView is, basically a wrapper around websocket to transfer data and update the page seamlessly. I suggest you watch Chris McCord talk about it on ElixirConf EU 2019 to understand more.
Initial Setup
Now, let's dive into it. First you need to create Phoenix project.
$ mix phx.new random_cat --no-ecto
Answer Y to Fetch and install dependencies? question.
We're passing --no-ecto flag because what we're going to create doesn't have anything to do
with database.
To make sure it's working, run the server, and then go open http://localhost:4000 on your browser. You should see "Welcome to Phoenix!" message along with some links.
$ cd random_cat
$ mix phx.server
The page is controlled by index function inside lib/controllers/page_controller.ex.
Now, we need to install LiveView. To do that, open
mix.exs and add {:phoenix_live_view, "~> 0.3.1"} to deps, and while we're at it,
add httposion as well. It's HTTP client library, and we need that for our small project:
defp deps do
[
  {:phoenix, "~> 1.4.9"},
  {:phoenix_pubsub, "~> 1.1"},
  {:phoenix_html, "~> 2.11"},
  {:phoenix_live_view, "~> 0.3.1"},
  {:phoenix_live_reload, "~> 1.2", only: :dev},
  {:httpoison, "~> 1.6.1"},
  {:gettext, "~> 0.11"},
  {:jason, "~> 1.0"},
  {:plug_cowboy, "~> 2.0"}
]
end
Stop the server and install the added library by running mix deps.get.
Then you can re-run the server using mix phx.server.
LiveView
This is where the fun starts. First define the /live endpoint.
Open lib/random_cat_web/endpoint.ex and add socket "/live", Phoenix.LiveView.Socket:
defmodule RandomCatWeb.Endpoint do
  use Phoenix.Endpoint, otp_app: :random_cat

  socket "/live", Phoenix.LiveView.Socket
  ...
end
Then configure the signing salt, open config/config.exs, and add live_view: [signing_salt: ...]:
config :random_cat, RandomCatWeb.Endpoint,
  url: [host: "localhost"],
  secret_key_base: "abc",
  render_errors: [view: RandomCatWeb.ErrorView, accepts: ~w(html json)],
  pubsub: [name: RandomCat.PubSub, adapter: Phoenix.PubSub.PG2],
  live_view: [signing_salt: "xyz"]
You can generate the salt by running mix phx.gen.secret 32.
Next we need to initialize the socket connection via javascript.
First add phoenix_live_view npm dependencies:
{
  "dependencies": {
    "phoenix": "file:../../../deps/phoenix",
    "phoenix_html": "file:../../../deps/phoenix_html",
    "phoenix_live_view": "file:../../../deps/phoenix_live_view"
  }
}
And run npm install --prefix assets.
Then Open assets/js/app.js and insert these lines:
import {Socket} from "phoenix"
import LiveSocket from "phoenix_live_view"

let liveSocket = new LiveSocket("/live", Socket)
liveSocket.connect()
For now, that's all javascript we have to write in order to make things work.
Now we create the actual LiveView. Create new file inside lib/random_cat_web/live
(you need to create live directory first), called cat_live.ex. Insert this code block:
defmodule RandomCatWeb.CatLive do
  use Phoenix.LiveView


  def render(assigns) do
    ~L"""
    <img src="<%= @url %>">
    """
  end

  def mount(%{}, socket) do
    fallback = "http://lorempixel.com/g/500/300/animals/"
    case HTTPoison.get("http://aws.random.cat/meow") do
      {:ok, %HTTPoison.Response{body: body}} ->
        case Jason.decode(body) do
          {:ok, %{"file" => url}} ->
            {:ok, assign(socket, :url, url)}
          {:error, _} ->
            {:ok, assign(socket, :url, fallback)}
        end

      {:error, _} ->
        {:ok, assign(socket, :url, fallback)}
    end
  end
end
We'll explore this part by part. Basically LiveView needs to have 2 functions in order
for it to works, render and mount. First part is the render.
def render(assigns) do
  ~L"""
  <img src="<%= @url %>">
  """
end
This part defines how you will render the live view content. This could be a whole page, or just
part of a page. We could also use template file for this(we'll convert to template file later).
The ~L part is the sigil
for live view template.
def mount(%{}, socket) do
  fallback = "http://lorempixel.com/g/500/300/animals/"
  case HTTPoison.get("http://aws.random.cat/meow") do
    {:ok, %HTTPoison.Response{body: body}} ->
      case Jason.decode(body) do
        {:ok, %{"file" => url}} ->
          {:ok, assign(socket, :url, url)}
        {:error, _} ->
          {:ok, assign(socket, :url, fallback)}
      end

    {:error, _} ->
      {:ok, assign(socket, :url, fallback)}
  end
end
The next one is mount. Mount is accessed when the LiveView is rendered for the first time.
Our mount is simple. It's trying to fetch data from http://aws.random.cat/meow, and use
fallback it the data is invalid, or the fetch is failed. If we get the data sucessfully,
we show the cat image.
The last part is add the LiveView to the router. Open lib/random_cat_web/router.ex, andd add live "/cat", CatLive to scope "/" so:
scope "/", RandomCatWeb do
  pipe_through :browser

  get "/", PageController, :index
  live "/cat", CatLive
end
Now everything is ready, restart the server just to be sure, then open http://localhost:4000/cat The cat image should show up.
Right now, the only way to update the image it to do the page refresh. Next, we're going to change that and add a button to update the image without refreshing the page.
LiveView Event Handling
The way event being handled is you can call single function from the page. It's done via socket, but you don't need to do anything with that. All we need is use the provided binding on our element and let LiveView do the rest.
First, let's update the template. We add a button that will trigger function on the server,
using phx-click binding. Your render function should be similiar to this:
def render(assigns) do
  ~L"""
  <div>
    <img src="<%= @url %>">
  </div>
  <button phx-click="moar">moar!</button>
  """
end
Next we create the function that will handle that click event. What we want to do is to
update the image everytime the button is clicked. To do that, we refactor the mount function,
so we could re-use the HTTP call routine. Your mount should be like this:
def mount(_session, socket) do
  {:ok, assign(socket, :url, get_cat_url())}
end
And for the get_cat_url function, it will always return url.
defp get_cat_url() do
  fallback = "http://lorempixel.com/g/500/300/animals/"
  case HTTPoison.get("http://aws.random.cat/meow") do
    {:ok, %HTTPoison.Response{body: body}} ->
      case Jason.decode(body) do
        {:ok, %{"file" => url}} ->
          url
        {:error, _} ->
          fallback
      end

    {:error, _} ->
      fallback
  end
end
Last, in function to handle moar event, we assign :url to new url from get_cat_url
everytime the function is called.
def handle_event("moar", _values, socket) do
  {:noreply, assign(socket, :url, get_cat_url())}
end
Your whole cat_live.ex content should be like this:
defmodule RandomCatWeb.CatLive do
  use Phoenix.LiveView


  def render(assigns) do
    ~L"""
    <div>
      <img src="<%= @url %>">
    </div>
    <button phx-click="moar">moar!</button>
    """
  end

  def mount(_session, socket) do
    {:ok, assign(socket, :url, get_cat_url())}
  end

  def handle_event("moar", _values, socket) do
    {:noreply, assign(socket, :url, get_cat_url())}
  end

  defp get_cat_url() do
    fallback = "http://lorempixel.com/g/500/300/animals/"
    case HTTPoison.get("http://aws.random.cat/meow") do
      {:ok, %HTTPoison.Response{body: body}} ->
        case Jason.decode(body) do
          {:ok, %{"file" => url}} ->
            url
          {:error, _} ->
            fallback
        end

      {:error, _} ->
        fallback
    end
  end
end
Now go restart the server and try clicking the button. Now we could update the image without restarting the page. Remember we only write 4 lines of javascript so far.
Hooks
The last thing that I want to show is how to bind more javascript code. In our case,
we want to be able to maybe show loading message after the button is clicked. We could
use phx-hook for that.
First, update your app.js to this:
let Hooks = {};
Hooks.MoarButton = {
  mounted() {
    this.el.addEventListener('click', e => {
      this.el.innerText = 'Loading ...';
      this.el.disabled = true;
    });
  }
};

let liveSocket = new LiveSocket('/live', Socket, { hooks: Hooks });
This hook will set the button to Loading ..., and disable it once the element is clicked.
To use the hook, update the button in the template to use phx-hook:
...
<button phx-click="moar" phx-hook="MoarButton">moar!</button>
...
So there the very basic way to setup LiveView. If you want to know more, you could check the documentation on hexdocs.pm. I hope that helps, and if you see anything wrong or invalid, please tweet me @kriwil. Thank you for reading!
Camel-case JSON Renderer for Django REST Framework
Because I'm too lazy to create python package for this. Just use it.
Django REST framework version: 3.5.x
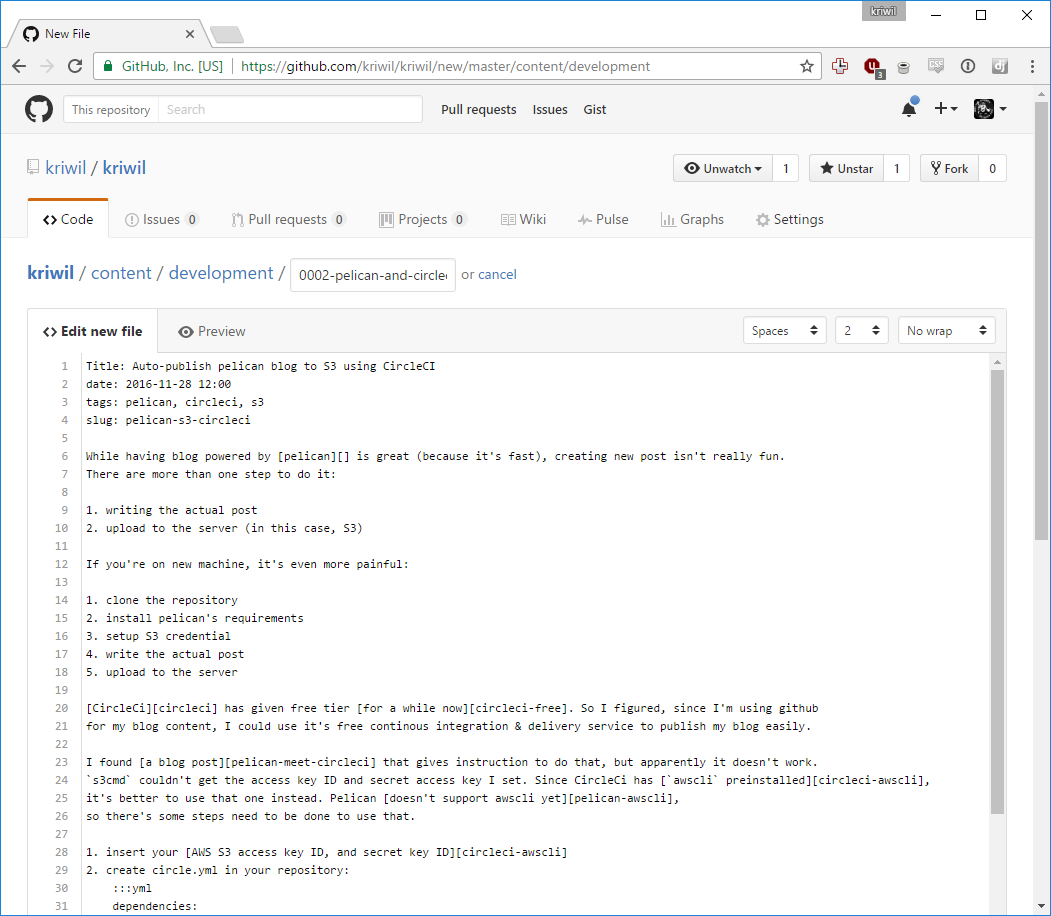
Auto-publish pelican blog to S3 using CircleCI
While having blog powered by pelican is great (because it's fast), creating new post isn't really fun. There are more than one step to do it:
- writing the actual post
- upload to the server (in this case, S3)
If you're on new machine, it's even more painful:
- clone the repository
- install pelican's requirements
- setup S3 credential
- write the actual post
- upload to the server
CircleCi has given free tier for a while now. So I figured, since I'm using github for my blog content, I could use it's free continous integration & delivery service to publish my blog easily.
I found a blog post that gives instruction to do that, but apparently it doesn't work.
s3cmd couldn't get the access key ID and secret access key I set. Since CircleCi has awscli preinstalled,
it's better to use that one instead. Pelican doesn't support awscli yet,
so there's some steps need to be done to use that.
- update your
Makefileto useawscliinstead - insert your AWS S3 access key ID, and secret key ID
- create circle.yml in your repository
Here's how the circle.yml should be:
:::yml
dependencies:
  override:
    - pip install -r requirements.txt
    - echo -e "[default] \naccess_key = $S3CFG_ACCESS_KEY \nsecret_key = $S3CFG_SECRET_KEY \n" > /home/ubuntu/.s3cfg

test:
  override:
    - echo "test"

deployment:
  aws:
    branch: master
    commands:
      - make html
      - make s3_upload
Now, everytime you push your commits to master, CircleCI will deploy them to S3. You should be able to see the deployment progress on you CircleCI dashboard.
You don't need to create special environment to install pelican etc, just git and text-editor. You could even use github's feature to create blog post directly inside your browser (I wrote this using that!).
django's cached_property
If you find yourself using @property a lot in your model and the property
costs database queries, you might want to consider using cached_property instead.
For example:
:::python
...
from django.utils.functional import cached_property
...

class Book(models.Model):
    ...

    @cached_property
    def references(self):
        ...
        # more queries here
        return references
So instead re-query everytime you call the property, it'll use cache instead, as long as the instance still exists.